Collage Banner

Collage Banner

Saturday, October 5, 2013

This Week at the Farmer's Market

I've been looking forward to this weekend for a very long time because we have for once...nothing on the calendar.  While I love the many weekend events of summer, trips to camp, BBQ's and weddings as well as those into the fall, there's nothing quite like the freedom of an unscheduled weekend.  I'm secretly really excited that it's a rainy weekend too because now I have no guilty feelings about not doing some sort of yard clean-up outside.  I guess that's not so secret anymore.  Anyway, despite the dreary weather, Addie and I made it out to the farmer's market this morning and had a great time.  I love now that she is getting a little older, she really gets excited for our weekend outings to the market.  For one thing, we always make our way to the fresh donut stand (she wouldn't let us forget about that), but also she really likes the busy-ness of it all.  She's a very social little lady.  I really enjoy the opportunity to show her the vast amounts of fruits and vegetables and teach her a bit about them all.  This morning there seemed to be a lot of new things for her to see with all of the funny shaped gourds, painted pumpkins, and cauliflower colored like the rainbow.


Peppers of all kinds were also out in full force as well as Addie's favorite, tomatoes, as farmers were selling off the last of their summer crop in large numbers.

Since most of our tomatoes have been picked already from our garden, we decided to purchase an 8 qt basket so we can make tomato soup this weekend.

If you didn't get a chance to get out to your local farmer's market this weekend, try to plan for it next weekend.  Even though it's no longer summertime, there are still plenty of in season fruits and vegetables to purchase and maybe even some new ones to try!

Thursday, October 3, 2013

Grilled Turkey, Apple, & Cheddar Sandwich


I'm feeling pretty official these days as a parent because my daughter has now begun (big sigh) extracurricular activities.  Right now this only means for us a 45 minute music class once a week, but I feel like it's the beginning of an even more hectic existence.  I love having this time to look forward to with Addie and she of course loves it too, but with this minor adjustment to our weekly schedule, I kind of feel like parents of multiple children involved in several activities really do deserve a round of applause, a medal, or at least a back massage after all of the driving they do (thanks Mom!)  Anyway, I'm discussing this because since we've started this activity, I've been trying out more meal ideas that are quick and healthy and made one last night that I definitely wanted to share.  We made grilled turkey, apple, and cheddar sandwiches and a side of garlic parmesan kale.  Easy and delicious, perfect for a busy week night dinner.  Here's what I did:

Grilled Turkey, Apple, and Cheddar Sandwiches


Whole wheat or multi grain bread
1 apple, thinly sliced
1 slice cheddar cheese
2 oz thinly sliced organic turkey
1 tbsp honey mustard
1 tbsp butter


If you have a panini press, that would be perfect for this sandwich, but we just used a regular skillet.  Heat skillet over med-high heat and spread butter on two slices of bread.  Spread honey mustard on the opposite side of one slice of bread and stack turkey, 3-4 apple slices, and cheddar cheese, topped with the other slice of bread.  Cook for 2-3 minutes on each side, or until slightly browned.  Serve with your favorite fall vegetable or try ours, Garlic Parmesan Kale.


Monday, September 30, 2013

Baked Apple Cinnamon Oatmeal


So I'm still on an apple kick, using up all of our apples from our apple-picking excursion and I don't really see an end in sight.  I may have to go picking again, I'm getting so hooked on fresh apples in everything!  Something else I'm hooked on, particularly in autumn...baked goods for breakfast.  Like most people, during the week I'm generally running out the door as fast as I can for work and while I never skip breakfast (what kind of future dietitian would I be??), I don't often have time to bake from scratch on a weekday morning, i.e. never.  So weekends are it for us, but I try my hardest to take advantage of them.  This weekend I made a baked apple cinnamon oatmeal that satisfied my baked breakfast items addiction while still remaining healthy and very tasty.  This recipe is really easy and can even double as a healthy dessert with a little bit of vanilla yogurt or ice cream...yum!

Baked Apple Cinnamon Oatmeal


3 cups rolled oats
1 cup brown sugar
1 teaspoon cinnamon
2 teaspoons baking powder
1 cup apple sauce
1/4 cup butter, melted
2 eggs
1 cup milk

Preheat oven to 350 degrees F.  Combine oats, cinnamon, baking powder, and brown sugar in a large bowl and mix well.  Whisk together apple sauce, melted butter, eggs, and milk in a separate bowl and then pour into dry ingredients, mixing well.  Pour mixture into greased 9 x 9 baking pan and bake for 40-45 minutes.

Makes 9 servings.


Sunday, September 29, 2013

Homemade Cinnamon Applesauce


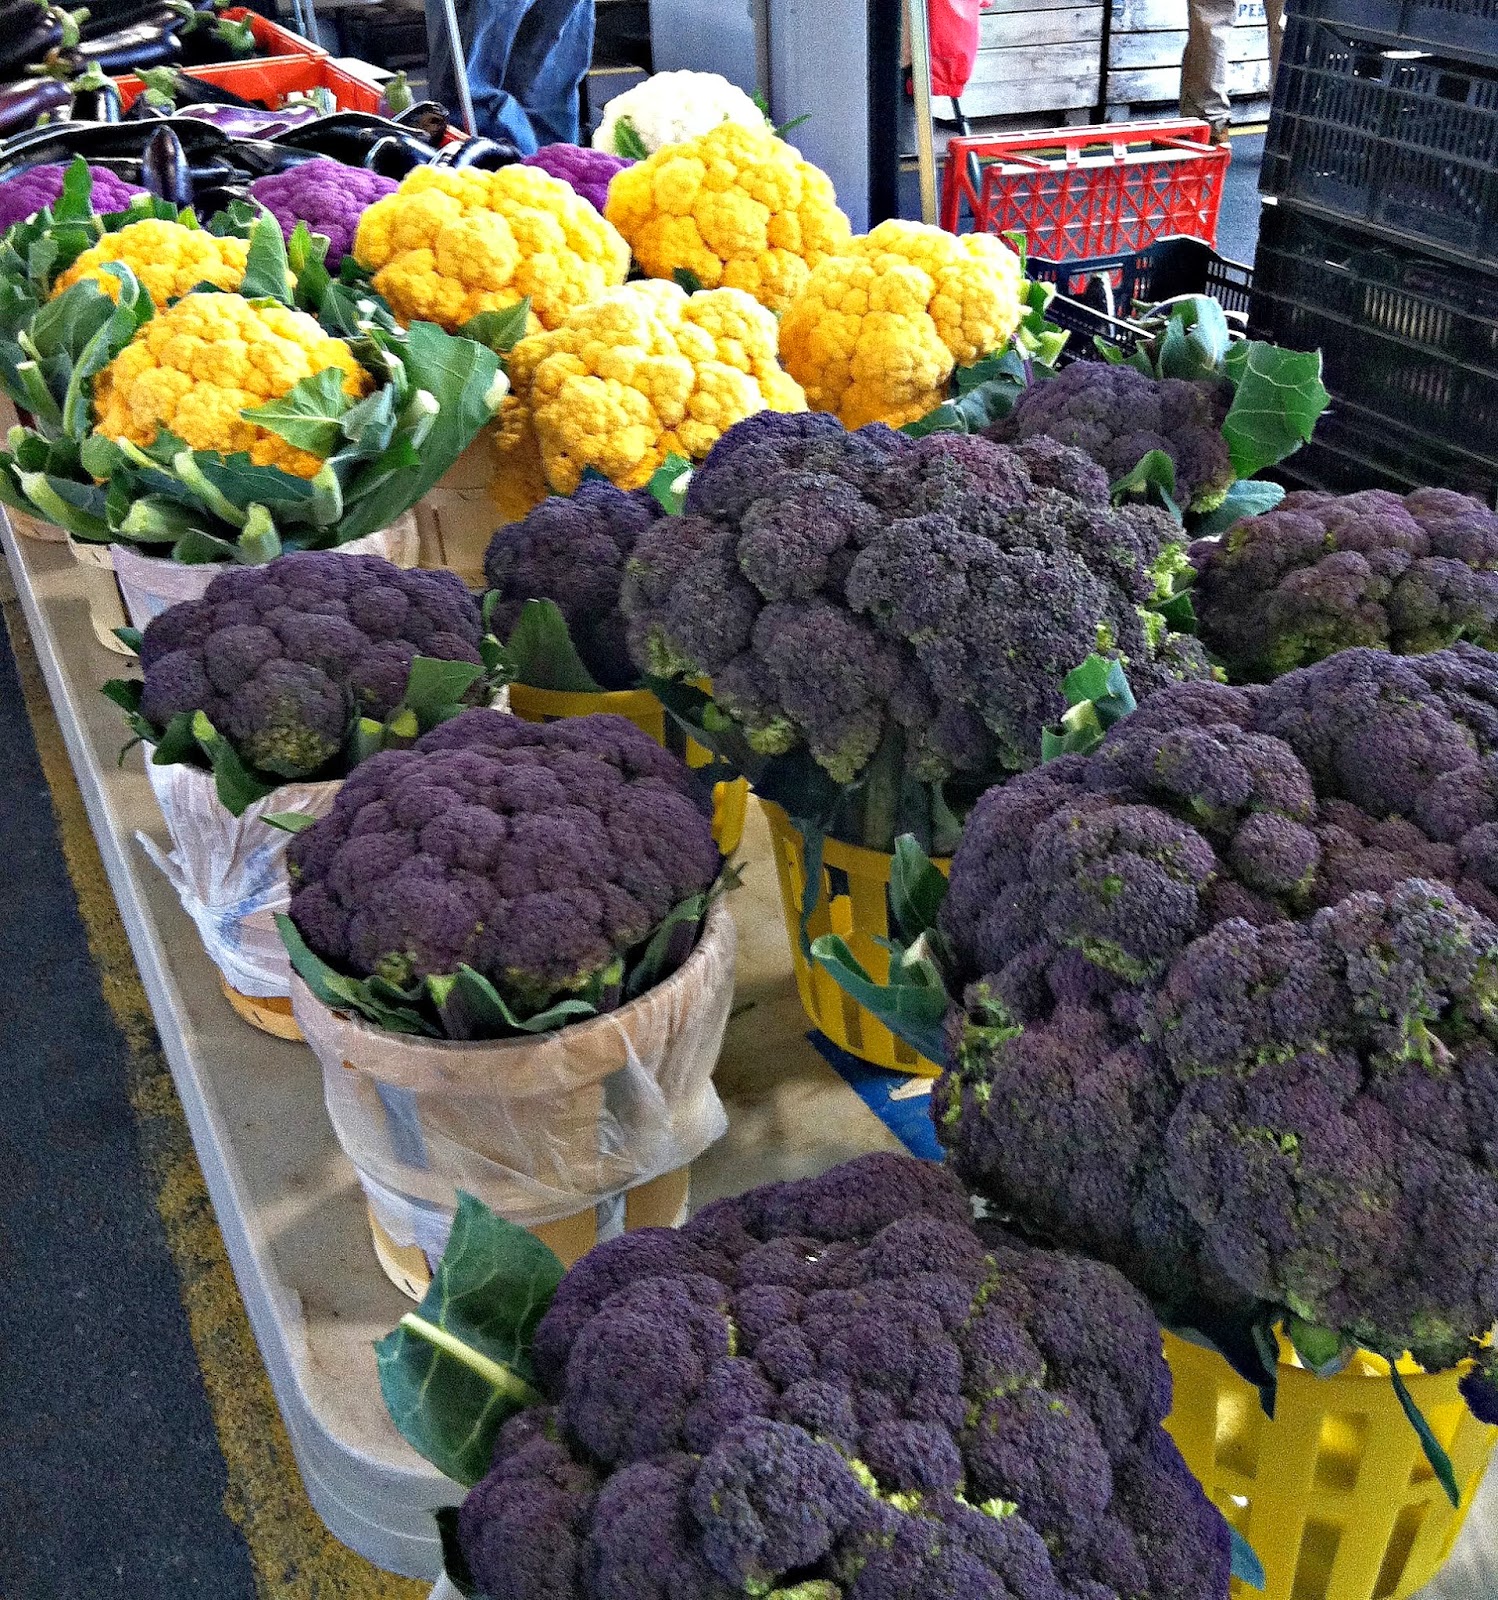
Autumn is officially here and I'm celebrating this week with one of my favorite fall fruits: Apples.  Living in Upstate NY, we're lucky to have apple orchards almost as frequent as Wegman's locations and that means plenty of opportunities to pick your own or purchase already picked apples from a local farm.  Why are apples so great?  Because they're not only nutritious and inexpensive, but they're extremely versatile in ways to eat them.  Apples are an excellent source of fiber, low in calories and easy to transport to bring with you to have with your lunch or as a snack.  They are great just simply raw, but they can also be baked and added to oatmeal or by themselves with a little cinnamon for a low calorie dessert.  Of course they're always great in a homemade pie, fritter, or dumpling, but adding them to a favorite whole wheat muffin recipe can make for a delicious breakfast or snack.  Using applesauce in place of oil is another way to cut down on calories from fat when baking.  In addition to all of these attributes, I can't think of a better way to spend a beautiful fall afternoon than picking your own apples. Here's a little bit about the different varieties of apples offered here in New York State:

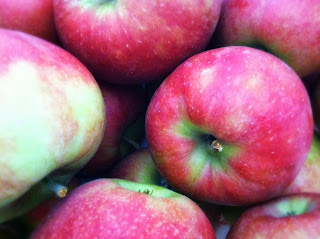
McIntosh: sweet with a little bit of tartness and very juicy, great on their own for snacking or for cooking
Empire: also sweet and slightly tart and juicy, also great for snacking
Gala: very crisp and mildly sweet
Jonagold: sweet and juicy with a little tartness, great for cooking
Cortland: sweet with a little tartness, white on the inside- I like these best for baking
Red Delicious: dark red color, very sweet
Paula Red: very crisp, tart and juicy, good for baking
Macoun: very sweet and juicy
Autumn Crisp: very crisp and juicy

It's hard to decide on my favorite recipe to use with apples, so I think I'll just start with this super simple one for homemade cinnamon applesauce that can be added to many other dishes and maybe share a few more as the week goes on.  I love this recipe because only takes about 10 minutes to prepare and 20 minutes to cook and you only need 3 ingredients...pretty easy huh?  I also love it because you can freeze any extra applesauce you have, use it for baking, or as a topping for pancakes, oatmeal, or with a little low fat vanilla yogurt for a healthy dessert.  Here's what I did:

Homemade Cinnamon Applesauce


4-5 large apples, peeled, cored, and quartered
1 cup water
2-3 cinnamon sticks

Place apple slices in a large pot and add water and cinnamon sticks.  Bring to a boil, then lower temperature to a simmer and cook covered for about 20 minutes or until apples are soft and most of the water is absorbed.  Remove remaining cinnamon sticks and use a potato masher to mash apples.  If you prefer smoother applesauce, you can use a hand blender or food processor to blend out all of the chunks.


A good idea for using all of the apple peels and cinnamon sticks after your done prepping is to place them all in a saucepan with water and simmer them, making a very cheap and environmentally-friendly air freshener for your home.  Who can resist the scent of apples and cinnamon on a chilly fall day?

Thursday, September 12, 2013

Late Summer Ratatouille


Although the signs of autumn are all around, apples, school buses, and the first few crunchy leaves on the ground, the recent hot weather has reminded me that summer is not quite over yet.  I'm glad for that because there are still a few more summer dishes I want to savor before the cold weather moves in...and living in Syracuse that may be tomorrow...I'll make sure my snow boots are out just in case.  Checking our garden lately has ended up in pleasant surprises finding yellow squash and zucchini that I had previously written off as a failure.  I've also recently raided my parents' herb garden which have perennial herbs that I'm pretty sure are older than I am.  Adding in some of our tomato harvest and a few bell peppers shared by my husband's coworker from their garden overflow, I made a delicious late summer ratatouille tonight that made me a little bit sad to see the season go.  For this ratatouille, I'd like to note that I forgot to add in eggplant, but I wish I had so I'll add that to the ingredients list.  Also, I added in cannellini beans which is bit untraditional, but added a nice flavor and made the dish a little more hearty which would be great if you're planning on serving it as a main course.  Here's what I did:

Late Summer Ratatouille


2 tbsp olive oil
1 tbsp dried oregano
1/4 cup fresh basil, chopped
1 large garlic clove, minced
1 medium yellow squash, large diced
1 medium zucchini, large diced
1 medium eggplant, large diced
1 medium bell pepper
1 large tomato, diced
1 small yellow onion, cut in half and finely sliced
1 can of cannellini beans, rinsed and drained
A few grinds of fresh black pepper


Prepare all of the diced vegetables ahead of time to make life easier.  Heat olive oil in a deep skillet over medium-high heat.  Saute garlic and onions for about 3 minutes, stirring often.  Add in squash, zucchini, eggplant and peppers and cook for about 5 minutes or until they start to become tender.  Add in tomatoes and beans followed by oregano, basil and pepper. Cook for another 2-3 minutes then lower heat and cover.  Allow to simmer for at least 20 minutes before serving.


Friday, August 30, 2013

Tomato, Basil and Mozzarella Pizza


Now that summer is winding down and fall is just around the corner (yay!) our garden harvest is in full swing.  While some items didn't have as high of a yield as I would have liked, like our zucchini and corn, others, including our tomatoes and green beans have given us quite a bounty.  I've tried my best to keep up with picking, cooking or freezing all of our garden goodies and in some cases it has really forced me to flex my creative cooking muscles to come up with recipes for everything.  This past week we've been enjoying fresh tomatoes on our salads and I plan on using some to make pizza sauce and tomato sauce to freeze for the coming months.  Sometimes, however, I think simple recipes can be some of the best ones.  Going with this theme of simple and easy, tonight we made a delicious and light summer pizza with our fresh tomatoes, fresh basil from the garden, garlic and fresh mozzarella.  I was so amazed with how much flavor all of the fresh, garden-grown items packed and my husband even proclaimed that his only complaint about it was that I didn't make a larger pizza.  I'll check this one off as a success.  Here's what I did:

Fresh Tomato, Basil and Mozzarella Pizza


Use your favorite 12" whole wheat pizza crust (I used Wegman's Whole Wheat Flat Bread Pizza Crust) or even better, try your hand and making your own
1 tbsp olive oil
2 small or 1 large garlic clove, thinly sliced
1/4 cup fresh basil, thinly sliced
1 large tomato (I used Pilgrim tomatoes, but beefsteak or any other large type would work)
4 oz. of fresh mozzarella, halved and thinly sliced in triangles
A pinch of salt and freshly ground black pepper

Preheat oven to 450 degrees F.  Drizzle crust with olive oil and simply spread sliced toppings over pizza crust evenly.  Sprinkle with salt and pepper and bake for 12-15 minutes.


Saturday, July 27, 2013

Making a Favorite Food Blog Local

If your a food lover and a blog lover, then chances are that you've heard of Smitten Kitchen.  This food blog is not only inspirational as the author serves up wonderfully creative dishes and equally amazing photography.  Add in her humor and wit and this blog is not only entertaining, but also gives you great ideas for dinner (which is really what we all want in a food blog, right?)  Anyway, I've been a longtime fan of hers and one reason is because she offers her recipes categorized by season.  That way it makes it very easy to find a recipe and make it "local" with ingredients from your garden or local farmer's market.  This week I found a recipe on her blog that met all of my needs for a weeknight meal as it was a "one pot meal" making for hardly any clean-up and it was super easy.  I was also able to make it using almost exclusively local ingredients.  Here's the link to the recipe, but make sure you take some time to look around the rest of the blog as I'm sure you'll love it as much as I do!

One Pot Farro with Tomatoes from Smitten Kitchen

Here are some photos of my version...

Tomatoes from a favorite local farm

Any recipe that involves combining everything together in only one pot is definitely alright with me! (And probably my husband since he's usually on dish duty)

As for the other local ingredients, the onions came from the farmer's market, garlic from a friend's garden, and basil from our garden.  That left only the farro and cheese to be purchased at the grocery store...not too bad.

Thursday, July 18, 2013

Sage Turkey Burgers

When I used to think of gardening at home, my mind immediately conjured up images of fresh green beans, tomatoes, and zucchini.  I never really got too excited about the thought of growing herbs.  My dad always had a very well kept herb garden when I was growing up and I do remember our kitchen filled with small bundles of basil, thyme, and oregano hanging from the pot rack drying for later use.  Now that I have my own garden, I've realized how great growing fresh herbs can be.  There are so many benefits to growing your own herbs and spices starting with the ability to do so in pretty much any space.  Right now I have rosemary and parsley growing in small pots on my kitchen window sill, oregano and cilantro in larger pots on our patio, while the basil and sage is planted in our garden serving as a border to keep small animals away (yup, they're pulling double duty as food and pest control).


Another benefit to having your own herbs is that they're always there when you need them.  Have you ever purchased fresh herbs at the store, paid way to much for them and had to buy way more than you needed only for them to wilt or get slimy in the fridge?  Well I have and it irritates me!  Having my own on the widow sill or in the backyard lets me just go out, pick what I need and they're fresher than fresh. Also many of them including sage, oregano, thyme, and cilantro are perennials, meaning they'll come back year after year.  So all you need to do is pick a spot and plant them once.  It doesn't get much easier than that.

This past week, we enjoyed some of our fresh sage used to make turkey burgers.  I love sage as a poultry seasoning whether you're grilling or roasting chicken or turkey, it's fantastic.  It adds a whole lot of flavor on it's own so you can dial back on the salt if you're looking to cut back on your sodium intake.  Here's what I did in this super simple summer recipe:

Sage Turkey Burgers


1 lb. ground turkey
1/4 cup of freshly chopped sage
1/4 teaspoon of garlic powder
A pinch of salt
A pinch of pepper

Combine ingredients in a large bowl and mix well.  Divide meat into four equal sized patties and place on grill or in a large skillet with 1 tbsp. of olive oil.  Cook for 3 minutes on either side or until the inner temperature of the burgers is 165 degrees F.

Add any toppings that you choose.  Some that we like are lettuce and tomato, of course, red onion, natural cheese such as cheddar, or avocado slices.


Tuesday, July 9, 2013

A Litte Housekeeping

In order to make KJ's Green Kitchen a little bit better, over the next few weeks I will be doing some work on the information that I offer here.  I'll be starting with my "Addie's Eats" page and moving on to the others and hopefully adding some new ones as well.  I'd really like to hear from those of you who check in with this blog on what you would like to see.  Post a comment or email me at kjsgreenkitchen@gmail.com.  I'd love to hear what you like about the current pages or what you would like to see more of.  I will be continuing to post on the main page as usual, but check back often for updates on the other pages.  Thanks for reading KJ's Green Kitchen!


Thursday, July 4, 2013

Whole Wheat Blueberry Walnut Muffins

Happy Fourth of July!  It's so nice to have a mid-week holiday with a day off to spend with my family. I've tried to keep the agenda clear for the most part so we can just relax and enjoy the day starting with a big breakfast and perhaps an extra cup of coffee :)  With most weekday mornings seeming like a complete blur, I always like to take advantage of these days to prepare a breakfast that might take a little extra time, but that we can take our time enjoying together.  I decided to celebrate two things this morning with my recipe choice: Independence Day and Blueberry season!  It's still pretty early for many blueberry growers in our area, but I was able to find some grown fairly close, which means blueberry picking is just around the corner for us!  If you've got the day off to spend with your family or just a little extra time for breakfast, try these healthy and seasonal muffins, best enjoyed while still in pajamas with one more cup of coffee!

Whole Wheat Blueberry Walnut Muffins

1 3/4 cup whole wheat flour
1/4 cup sugar + 2 tsp for the blueberries
2 tsp baking powder
1/2 tsp salt
1 egg, beaten
3/4 cup milk
1/3 cup unsweetened applesauce
3/4 fresh or frozen blueberries
1/4 cup chopped walnuts

Preheat oven to 350 degrees F.  Wash and dry blueberries with paper towels if fresh or thaw and pat dry with paper towels if frozen then toss with 2 tsp sugar.  Combine all dry ingredients in a large bowl and mix well.  Add blueberries.  Combine egg, milk, and applesauce together and mix well.  In the dry ingredients bowl, make a well in the center of the bowl and pour in wet ingredients and walnuts.  Mix until just combined.


Lightly grease muffin tins and scoop batter into each cavity so that they are 2/3 full.  Sprinkle more chopped walnuts on top if desired. Bake for 20-30 minutes or until golden brown.  Remove from pan to cool.

Tuesday, July 2, 2013

Garden Update

Rain, rain, go away...not sure if you should come back anytime soon.  Here I am complaining about the weather again, I swear that's not all I do.  However, lately I am feeling a bit like I need to build an ark before we all float away!  On a positive note, though I've barely had to water anything in my yard and despite the uninvited mushrooms growing in my garden, things are going pretty well.  We've just recently begun to enjoy some of the first few fruits of our labor in the garden including some fresh herbs like basil and sage, some spinach and arugula for salads and even a pretty good size zucchini.  Before providing an update on what our garden is currently looking like, I thought I'd go back a bit and show it from the beginning since we made some pretty big changes this year.

 We started by mapping out the larger perimeter of the garden space.  Inside, you can see the outline of our old garden beds, which look pretty puny.


Then we broke out the serious equipment to get started.  Thanks to my wonderful husband for doing all of the hard work!
Our dog, Abbey was clearly working hard too.  She was supervising, I guess.


Here are my pepper, tomato, and eggplant seedlings catching some sun outside.
 Meanwhile, I had started some seeds indoors.  Some were successful while others were not, but those that weren't I was able to replace with plants from the farmer's market.
Spinach sprouts
 Other plants, we sowed directly in the ground when it was warm enough including the lettuce, arugula, spinach, beans and peas.


Finally time to start gathering some greens.  Here is a fresh salad we enjoyed with a mix of spinach, arugula and basil.  Yum!


Our first zucchini from the garden we used in some homemade pasta sauce combined with fresh yellow peppers.

A little friend that came to visit...and surprisingly didn't eat anything

Basil and romaine lettuce

Pole beans climbing a bean teepee.  Space saving and fun for Addison to hide in!
Grape tomatoes

Peas!

Another baby zucchini
Carrots in a pot
We're looking forward to continuing to eat just about as local as we can get from our garden throughout the summer.  Hopefully your garden is growing well too (if not overwatered!) and if you haven't started one yet, you may still have a little time to pick up some plants at your local farmer's market so you can enjoy fresh food in your own backyard!  If not, it's never too early to begin planning for next year.  Just take a look at the space you have and take note of what kind of sun your yard gets and think about what you and your family like to eat often.  Write everything down and maybe even draw a picture of how you want your garden to look and you'll be prepared to get planting as soon as the ground is ready.  Share some pictures of your garden here or 'like' "KJ's Green Kitchen" on Facebook and post a picture on our wall.